Have you seen the new Beauty and the Beast yet?
OHMAHGAAAAAAAASH.
It's so good. Go see it. NOW.
Also, swoon over Dan Stevens' beautiful baritone with me. Just open that up in a second window and listen while you read.
We can criticize the music, but the two leads aren't trained singers and they don't sound like trained singers. It's refreshing. My only complaint about the singing is Emma Watson's breath control, what coach helped her develop a style where every phrase is 2 bars long?
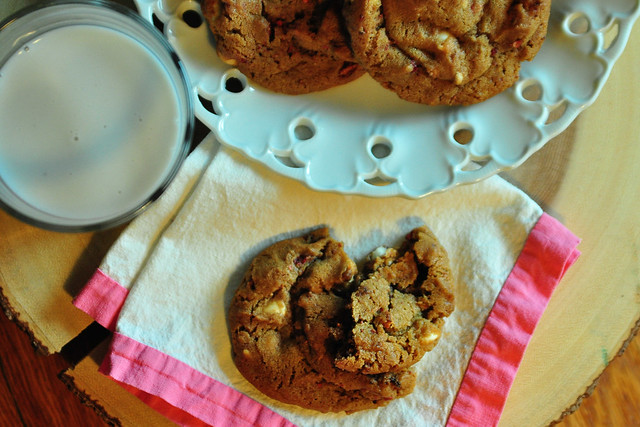
Since I'm so good at giving recommendations, second recommendation? MAKE THESE COOKIES.
They're kinda like the best thing to come out of my kitchen in awhile. And that's saying something.
I was visiting my parentals and my mom pulled out some fundraiser cookie dough from the freezer. The kind? Strawberry Shortcake [from Otis Spunkmeyer to be specific] and they were good. So I was inspired to make my own...that were equally as good or better. (-;
AND HOLY COW. I don't know how similar these are to the original that I ate one time eight weeks ago, but they are YUMMY.
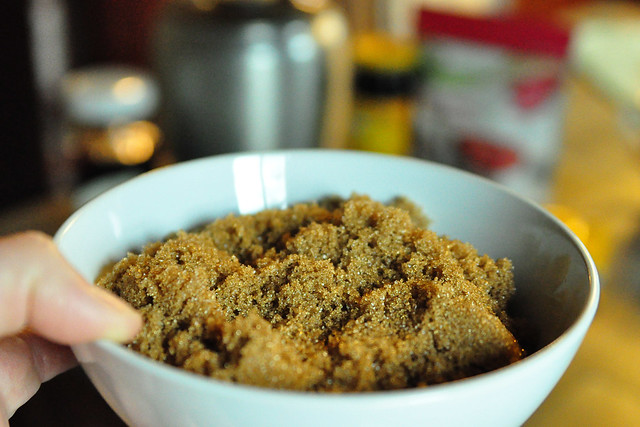
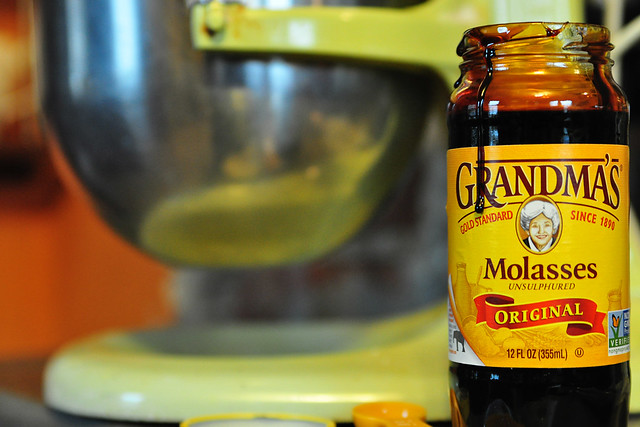
These cookies are a brown sugar base with the brown sugar flavors deepened with a bit of molasses. You could leave the molasses out, but you don't want to. Trust.
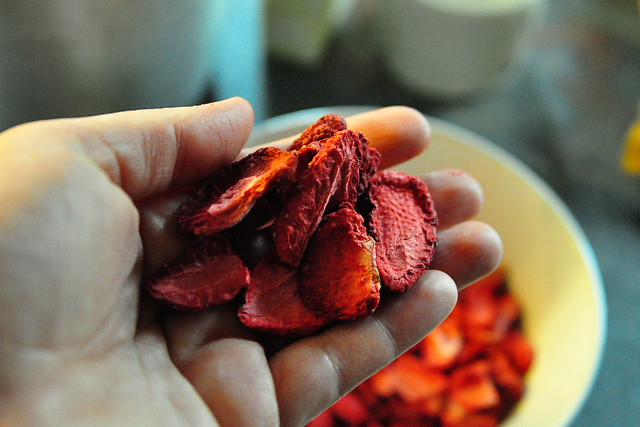
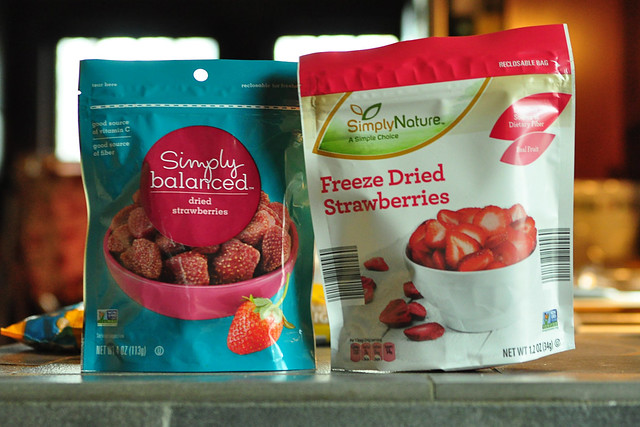
Break the freeze dried strawberries up into pieces about the size of the chocolate chips. As you break them, some will crumble, but it doesn't matter as long as you're over a bowl. All those little pieces are going to add even more strawberry flavor!
I like these as a larger cookie with a 3 tablespoon scoop. This recipe will make 2-3 dozen cookies.
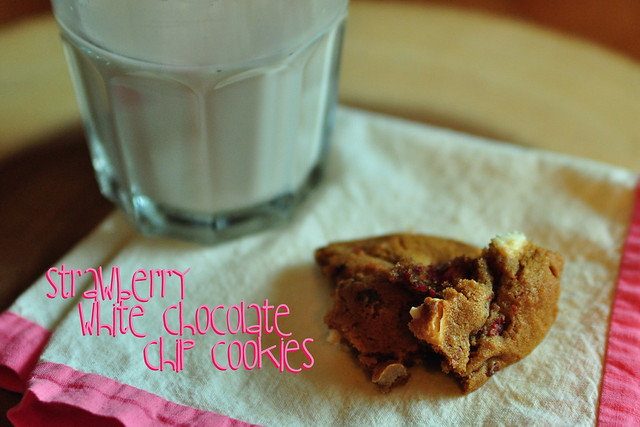
Strawberry White Chocolate Chip Cookies
2 sticks butter, at room temperature
1 3/4 cups brown sugar
1 egg
1 tsp vanilla
2 Tbsp molasses
2 1/4 cups all-purpose flour
2 tsp baking soda
1 tsp salt
1 cup white chocolate chips
1 (1.2 oz) package freeze dried strawberries [OR 2 (4 oz) packages dried strawberries], broken or cut into small pieces
Preheat the oven to 350. In a mixing bowl combine the butter and brown sugar. Then add the egg, vanilla, and molasses. In a separate bowl combine the flour, baking soda, and salt. Add to your butter mixture. It's gonna be THICK! Mix in the white chocolate chips and the freeze dried strawberries with a wooden spoon and a lot of elbow grease. Scoop the dough onto your lined cookie sheets [parchment or silicone liners] and place in the oven for 11-14 minutes depending on how crisp you want the edges. Tip: let the cookies sit on the warm cookie sheets for at least 5 minutes before you take them off to cool.
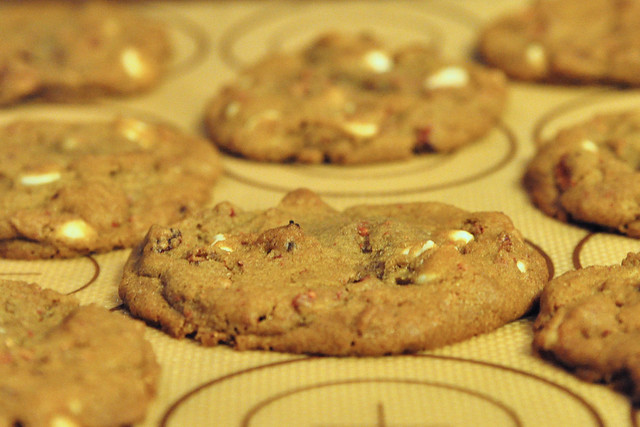
The strawberry rundown:
I'm about 92.6% certain the original cookies had a strawberry flavored dried cranberry as the strawberry.
a) you can't find those anywhere and
b) if I'm making a strawberry cookie, I want some dang strawberries in it!
Eventually I found the two options of dried strawberries or freeze dried strawberries.
The dried strawberries are a dehydrated strawberry with a chewy texture similar to a prune or raisin. The freeze dried strawberry is a crunchy, tart berry that most people have tried in their Special K Red Berries cereal.
In my first round of these cookies, I made a double batch with half of each of these varieties. My ever-so-helpful co-workers gave their opinions. I tried them myself. I knew we were all going to like the dried strawberries [the ones I could only find at Target for $3.99 a bag, WHO IS GOING TO BAKE COOKIES WITH AN $8 INGREDIENT??] and I was feeling sad because no one was ever going to make these dadgum cookies.
I WAS WRONG.
The freeze dried strawberries were a winner. They impart more strawberry flavor. They are still slightly chewy as they regain some moisture from the cookie. They're 100% strawberry, no sugar added [because that's important in a cookie (-;]. They're available everywhere for less than $4. I purchased my bag at Aldi after seeing them at Kroger, Target, Meijer, and Marsh. Check by the nuts or the raisins.
March 26, 2017
March 14, 2017
front porch - update
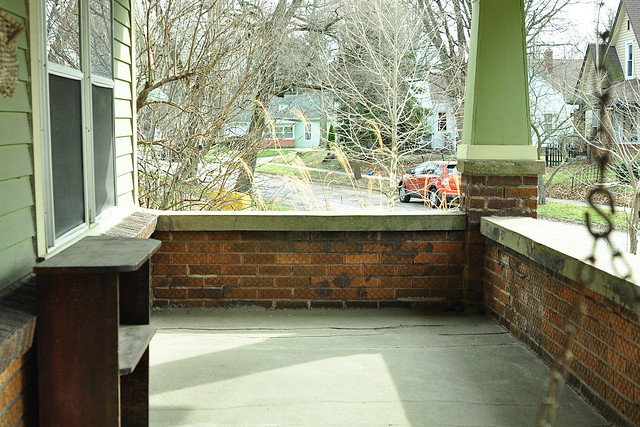
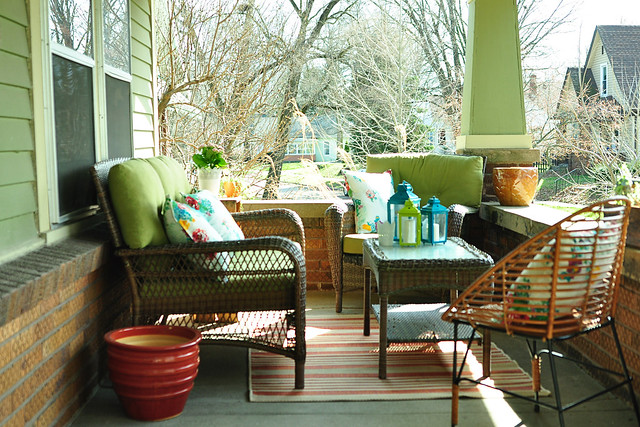
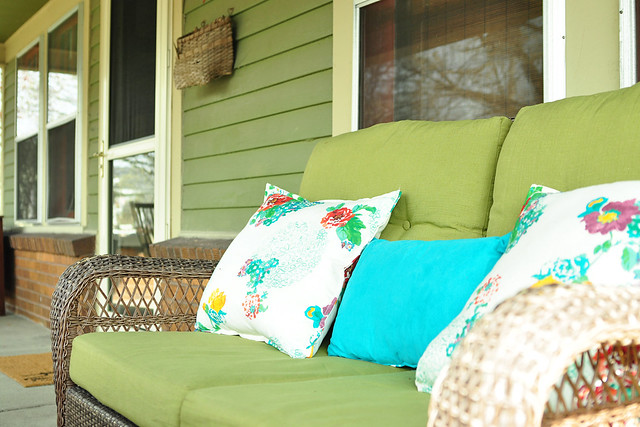
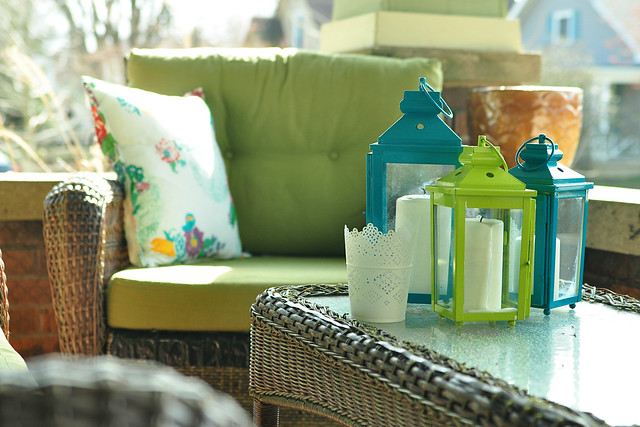
An update on the cutest front porch I've ever had.
It's also the only one I've ever had, but details.
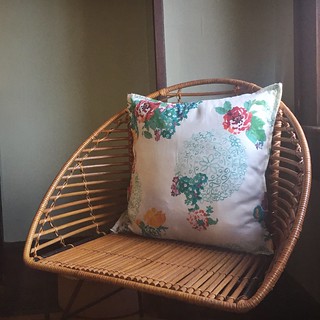
A blank canvas.
A quick craft project! I made myself this little entry rug out of the SINDAL at IKEA ($4.99), a little acrylic paint, and a dab of fabric medium. I just free-hand painted in the corner and let it dry.
It's also the only one I've ever had, but details.
A blank canvas.
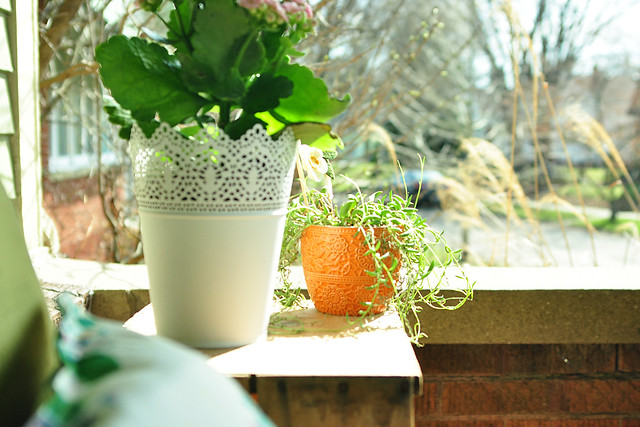
Our nights in Indiana have still been cold, so my plants get a personal trip in and out when it's warm enough for them to have a little sunshine. The other night I was out and rushed home because I was worried about them getting too cold. I think I've crossed over into the crazy plant lady realm.
I have a few more details to add and finish, but I'm excited about the progress so far!
March 12, 2017
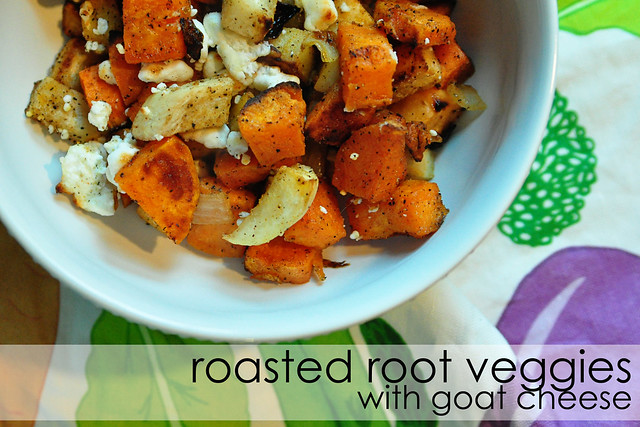
roasted root veggies with goat cheese
One of my favorite compliments I've ever gotten was:
Well, you made it, so I tried it! This is yummy! What's in it?
Of course, when asked for the recipe I basically just shrugged and said "roast some veggies and top it with goat cheese." BOOM. Done.
Apparently that wasn't detailed enough, so I attempted to measure things. Feel free to use this as a jumping of place and to just dice and drizzle and sprinkle the ingredients. Then roast them off in a hot oven. Dump them in a 9x13 pan. Sprinkle the roasted veggies with goat cheese and pop it back into the oven until it browns a bit.
If you want more details, they're below. (-:
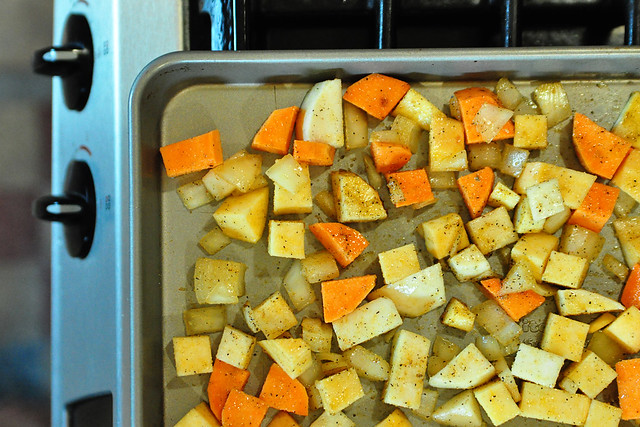
At this point, wash your hands well and toss everything until all the pieces of veggies are coated in the seasonings. Then spread them on a couple of sheet pans so they have enough room to breathe. If you overcrowd any veggie you're trying to roast, they end up steaming rather than roasting. You can get color on them, but it takes so much longer.
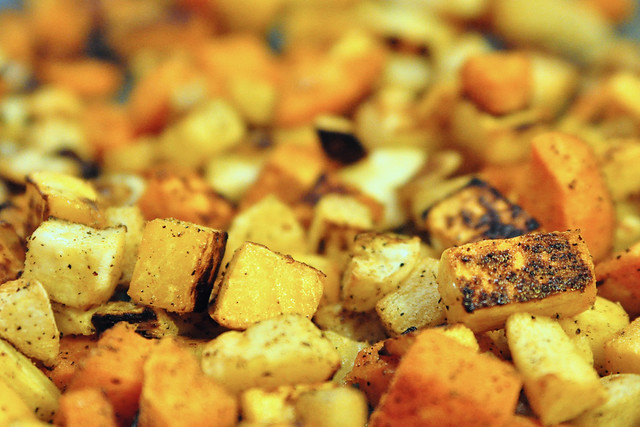
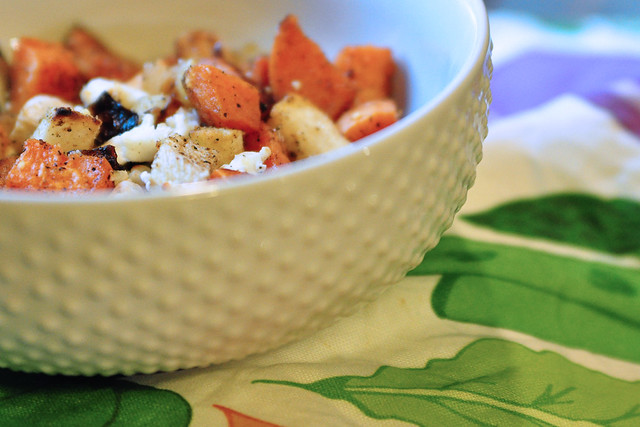
Sweet delicious roasted root vegetables. Get in mah belly.
Roasted Root Vegetables with Goat Cheese
Preheat your oven to 425*
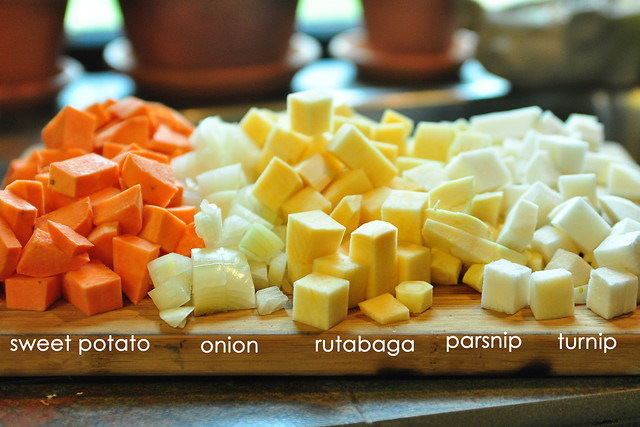
-Parsnips
-Turnip
-Rutabaga
-Sweet Potatoes
-1 medium Onion
You can really use any root veggie you want, I recommend peeling and dicing them up into small enough pieces that you can get 2-3 on a fork at a time. The melding of flavors will make you happy. Promise.
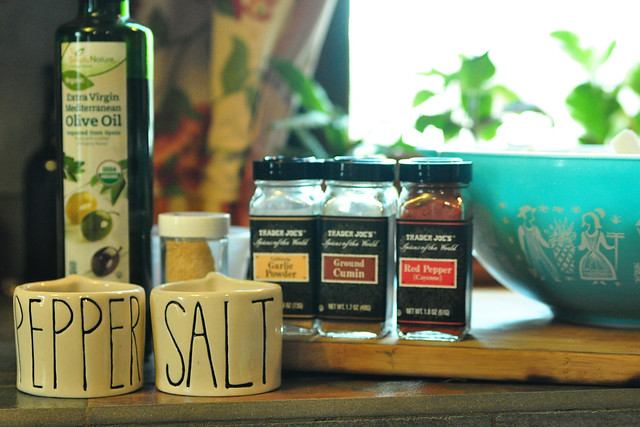
-1/3 cup Olive Oil
-3 tsp Salt
-1 tsp Pepper
-1 tsp Garlic Powder
-1 tsp Onion Powder
-1 tsp Cumin
-1/4 tsp Ground Red Pepper (optional)
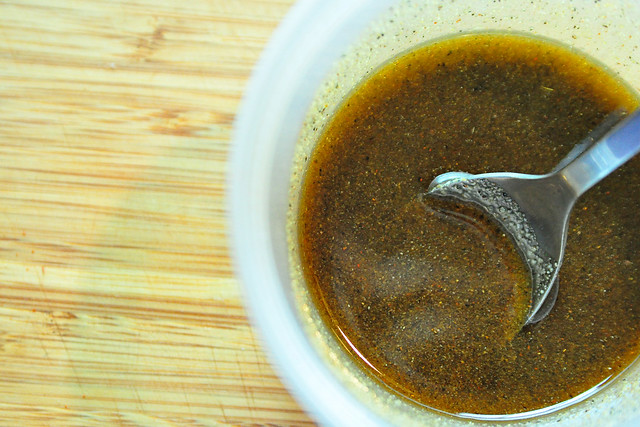
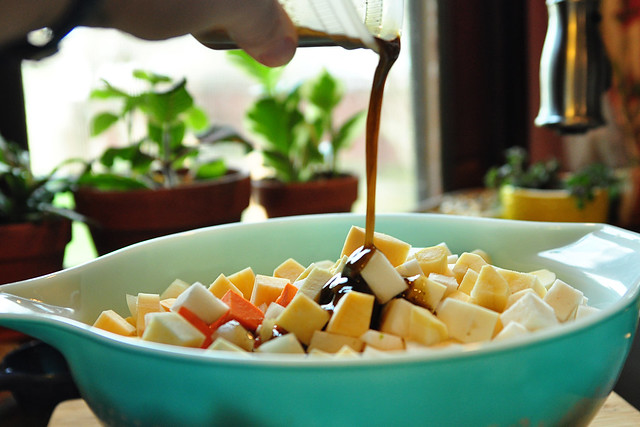
In another container, combine the above. My normal roasting method is to spread the veggies on my sheet pan and then drizzle them with olive oil, sprinkle on the seasonings, and toss them directly on the pan to coat them. Either method will work!
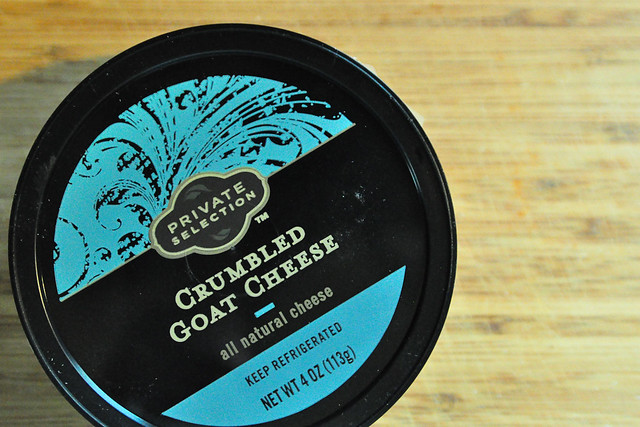
-Goat Cheese! (either crumbles or a log)
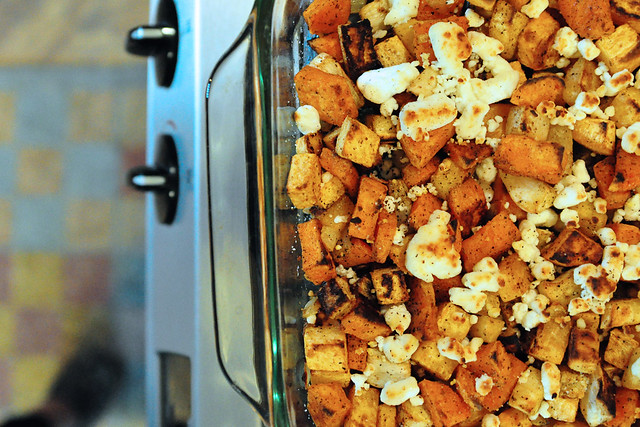
In your preheated oven, place the pans in to start the roasting process. After 10-15 minutes give them a stir. In another 15-20 minutes your veggies should be tender to a fork with some beautiful golden edges. At this point dump them in a 9x13 pan and top it with a container of goat cheese (or a crumbled log). Place the 9x13 back in the oven under the broiler and keep a close eye until the goat cheese starts to turn brown.
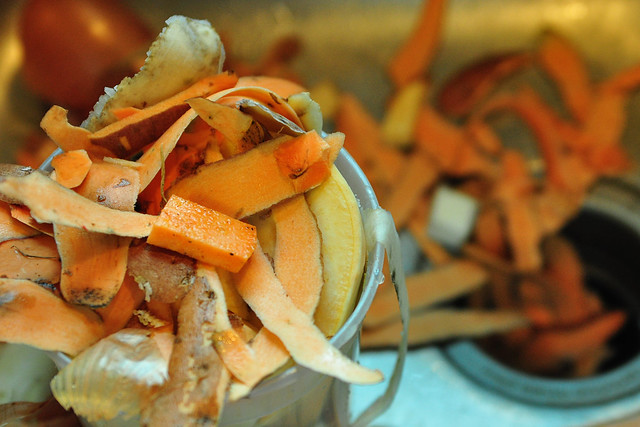
I recently started a compost pile because I make so much compostable trash. Does anyone compost? Tips? Tricks?
Well, you made it, so I tried it! This is yummy! What's in it?
Then I go on to list an assortment of root vegetables that many people have never tried topped with goat cheese which apparently sounds a little sketchy, but it comes together in a way that is tasty and warm and filling.
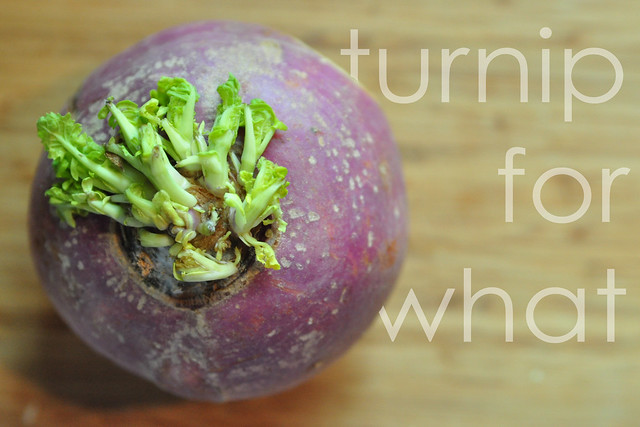
Sweet potatoes: everyone's had these before, right? Usually at Thanksgiving and sickly sweet, topped with marshmallows. [not my fave] I love the natural sweetness of the sweet potato with the subtle spice of a little red pepper. You can even find them in a variety of colors. Rutabaga: it looks like a large round dirt ball at the grocery. YUM. Just try it! Turnip: this always reminds me of a giant radish...at least in looks. Parsnip: this looks like a white carrot at the grocery store. The textures of all the different vegetables is delightful.Of course, when asked for the recipe I basically just shrugged and said "roast some veggies and top it with goat cheese." BOOM. Done.
Apparently that wasn't detailed enough, so I attempted to measure things. Feel free to use this as a jumping of place and to just dice and drizzle and sprinkle the ingredients. Then roast them off in a hot oven. Dump them in a 9x13 pan. Sprinkle the roasted veggies with goat cheese and pop it back into the oven until it browns a bit.
If you want more details, they're below. (-:
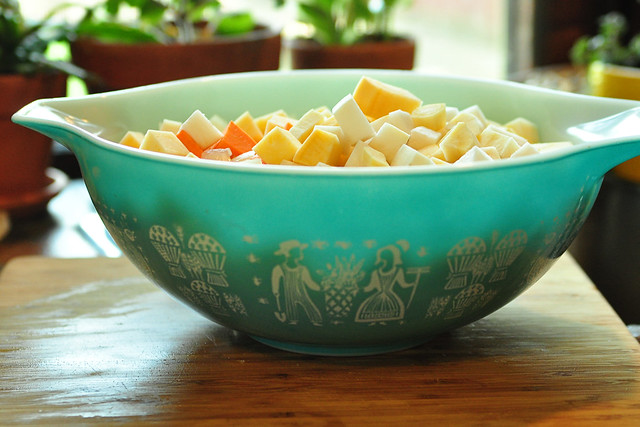
Gratuitous picture because I love my Pyrex.
Sweet delicious roasted root vegetables. Get in mah belly.
Roasted Root Vegetables with Goat Cheese
Preheat your oven to 425*
-Parsnips
-Turnip
-Rutabaga
-Sweet Potatoes
-1 medium Onion
You can really use any root veggie you want, I recommend peeling and dicing them up into small enough pieces that you can get 2-3 on a fork at a time. The melding of flavors will make you happy. Promise.
-1/3 cup Olive Oil
-3 tsp Salt
-1 tsp Pepper
-1 tsp Garlic Powder
-1 tsp Onion Powder
-1 tsp Cumin
-1/4 tsp Ground Red Pepper (optional)
In another container, combine the above. My normal roasting method is to spread the veggies on my sheet pan and then drizzle them with olive oil, sprinkle on the seasonings, and toss them directly on the pan to coat them. Either method will work!
-Goat Cheese! (either crumbles or a log)
In your preheated oven, place the pans in to start the roasting process. After 10-15 minutes give them a stir. In another 15-20 minutes your veggies should be tender to a fork with some beautiful golden edges. At this point dump them in a 9x13 pan and top it with a container of goat cheese (or a crumbled log). Place the 9x13 back in the oven under the broiler and keep a close eye until the goat cheese starts to turn brown.
March 10, 2017
ten things
This is the [mostly] clothing and make-up version of my ten things on the tenth. (-:
one. Lane Bryant leggings
I'm obsessed with my LB leggings. Here's why they top my list: they're thick enough to wear as pants; they're high waisted - they come up almost to my bra making me feel like everything is on lockdown; and nothing is sheer on these babies. If you're not in the size 14-28 range, I'm sorry.
two. LuLaRoe
I'm drinking the koolaid and it tastes good.
My cousin started selling LuLaRoe and I can't get enough. I'm picky about my patterns because some are beautiful and lovely and some are definitely not for me. Patterns have never scared me, and I'm always partial to a good floral. I've got a couple of Irmas, a Carly [still iffy on the fit of this one], and a pair of leggings [BLACK and buttery, but I prefer my LB ones to my LLR ones because of the whole lock-and-load things mentioned above]. Bottom row for my faves: the Nicole dress, a Madison, and a Perfect T. I'd love an Ana and maybe a Sarah.
If you want to take a peek my cousin, Liz posts to her FB page on Friday nights. Although my favorite is when she does a live unboxing; it's like I get a sneak peek before everyone else.
three. emilynoel83
Someone recommended Emily to me awhile back and I've been obsessively watching her YouTube channel. I've watched A LOT of different beauty YouTube channels and Emily is a such a good balance of drug store makeup and specialty brand makeup. She's super down to earth. She often says that because she knows her reviews mean people will be spending $$ she's very conscious about recommending things.
Several of the products below were recommended by Emily and I'm totally smitten with them all.
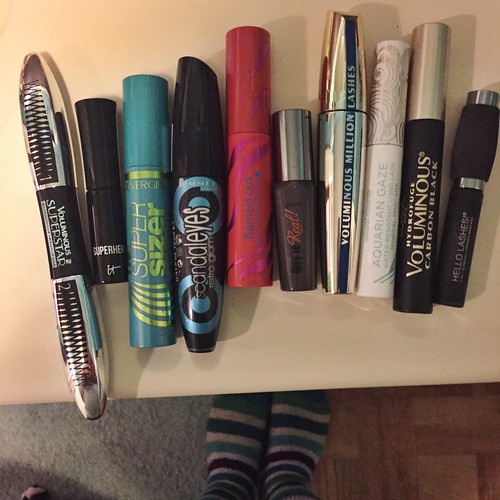
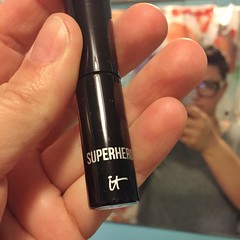
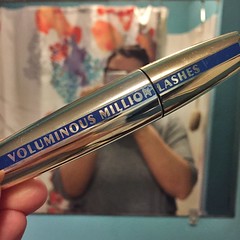
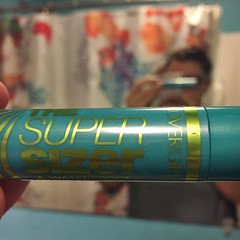
four-five-six. Mascara
I had this pile o' mascara in my bathroom and I'm done with it. I can never remember which ones I actually LIKE, so I went through every one to see how they lasted for a 12 hour shift at work.
WINNERS!
seven. Makeup Revolution
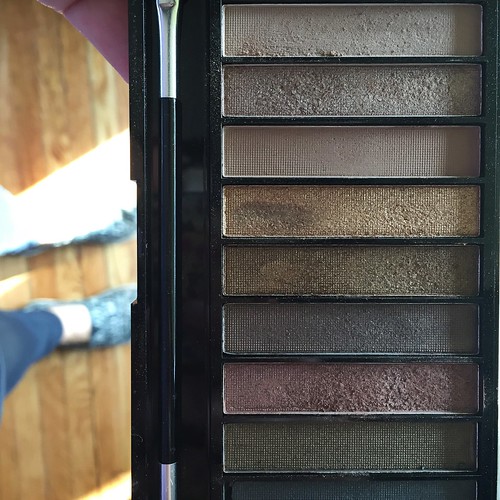
I decided I was going to get rid of every other eye shadow when I snagged this baby at ULTA. It's SO PRETTY. And it's cheap [SEVEN dollars] for the pallet.
I have the Iconic 1 pallet [I've been lusting after the Naked pallets for years, but I can't convince myself to spend the money] and it's SO PRETTY.
Did I mention how pretty it is?
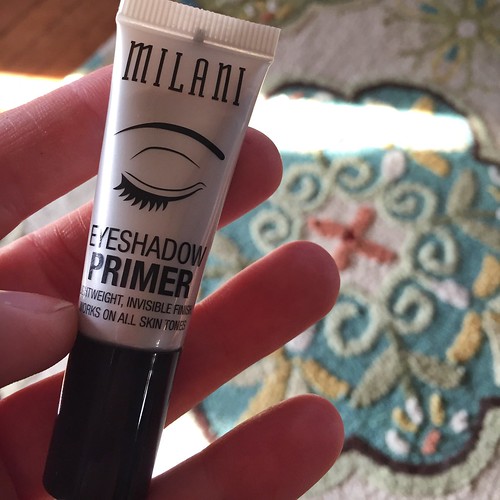
eight. Milani Eyeshadow Primer
OMGoodness. This has changed my game. I put a touch of this on each eyelid before I put the Makeup Revolution eyeshadow. It keeps my eyeshadow from creasing and it helps it last. I can finish a sweaty shift at work and I the eyeshadow is where it started! Amazeballs.
nine. Great British Bake Off
Netflix added two more seasons! One I've seen [I forgot about my crush on Tamal 😍😍😍] and one was new to me. The season numbers are all wonky because they're different in the countries and on Netflix. I LOVE LOVE LOVE GBBO and I'm so sad they won't be back the way they've been.
ten. pillows
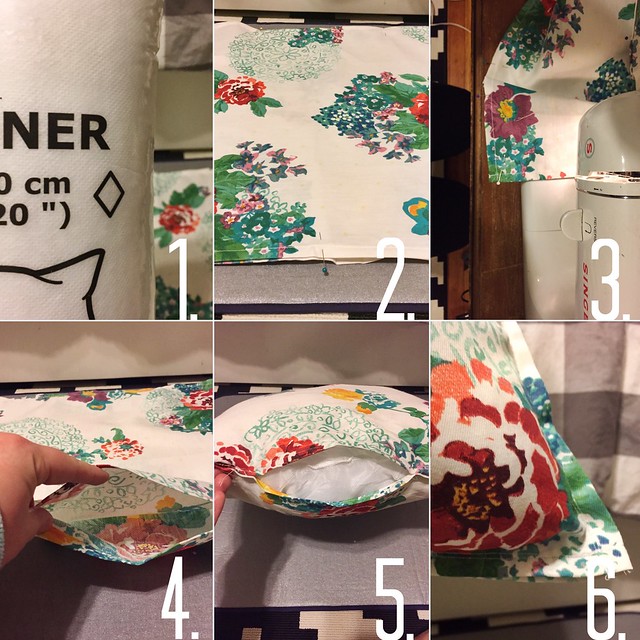
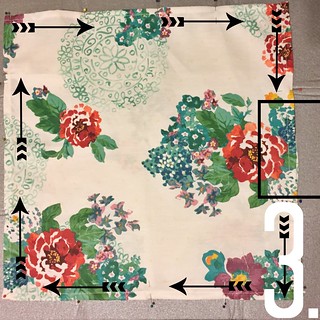
I made my pillows for the front porch out of napkins and they just make the space for me! When I tell you this is an easy-peasy project, I'm not exaggerating. In about 10 minutes you can go from 2 napkins and a pillow form to a completed pillow.
Cost breakdown: napkins 8/$10, pillow forms $2.99/each = 4 pillows for just under $22
Have you been pillow shopping lately? This is a bargain!
March 2, 2017
curls for days
Let's talk curls! I was born with mine...well actually I was born bald, but when I finally got my hair I had inherited my curls.
I've mentioned before about the tragedy that was the first 25 years of my life where I brushed my curls daily. Need a reminder? Holla at me sixth grade!
Around my senior year in high school I played with some gel--the cheapest one that came in a vat. It was mostly unsuccessful. College brought around more hair products [when you live in a residence hall with other women there's a plethora of products to test out] and slightly more success. I can't remember when I finally threw away my hairbrush, but I think it was somewhere around age 27.
My curly friends told me about DevaCurl products and the naturally curly website. I had my first official "curly" haircut in Durham [maybe 2009?] and my first official DevaCut when I did the big chop in 2013. I've been exclusively using the DevaCurl products since 2012. That's 5 solid years of the SAME PRODUCTS. Even before in my life if I found something that worked, I'd have to change it after I finished a bottle because you know the second bottle wouldn't work the same way.
Curly hair probs.
I'm a 2c-3a texture. I shampoo my hair with a sulfate-free shampoo 2-3 times a week [not the DevaCurl no-poo because that didn't work for me]. I condition my hair with the One Condition Original every time I get it wet--even if I don't wash it. I use Light Defining Gel and then throw in some Frizz-free Volumizing Foam in the summer or Styling Cream in the winter.
OK, here's how I do my hairs:
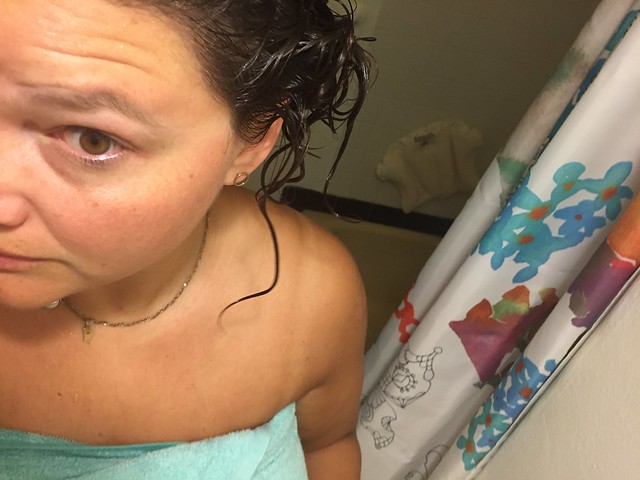
1. Shower: shampoo [or don't] and condition. When it comes time to rinse the conditioner I don't rinse it all, I leave it a little slick from the conditioner.
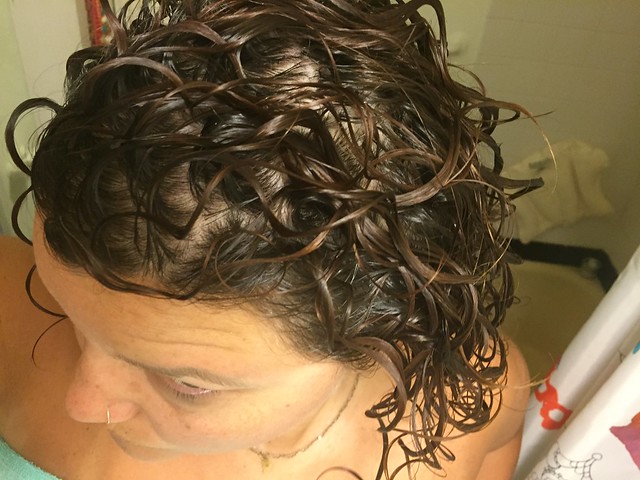
2. I flip my head over, then in my SOPPING WET HAIR, I add the gel and then the foam/cream. The goal is to feel the slick from the remaining conditioner and gel and other product from root to tip. In all honesty, I use a ton of product. You know how they say start with a dime? I probably use 3-4 quarters. Maybe 3 quarters of gel and 1 quarter of foam/cream.
3. Next I use a microfiber towel [I just purchased the DevaTowel, so no reviews on that yet]. I've been using a generic travel one I picked up at TJ Maxx for awhile now with no problem. I take the microfiber towel and start to shape the curl and dry it out. I scrunch and lift at the root. It takes away about half of the moisture.
4. DIFFUSER! I use my cheap-o hair dryer with diffuser to dry my hair fully. I start by drying it around my part and then flip my head from side to side and over to get maximum volume. I've also used clips to help shape my hair and that works pretty well [especially if I want to forego the hairdryer and air dry].
And that's how I get my curls to curl. (-:
I've mentioned before about the tragedy that was the first 25 years of my life where I brushed my curls daily. Need a reminder? Holla at me sixth grade!
Around my senior year in high school I played with some gel--the cheapest one that came in a vat. It was mostly unsuccessful. College brought around more hair products [when you live in a residence hall with other women there's a plethora of products to test out] and slightly more success. I can't remember when I finally threw away my hairbrush, but I think it was somewhere around age 27.
My curly friends told me about DevaCurl products and the naturally curly website. I had my first official "curly" haircut in Durham [maybe 2009?] and my first official DevaCut when I did the big chop in 2013. I've been exclusively using the DevaCurl products since 2012. That's 5 solid years of the SAME PRODUCTS. Even before in my life if I found something that worked, I'd have to change it after I finished a bottle because you know the second bottle wouldn't work the same way.
Curly hair probs.
I'm a 2c-3a texture. I shampoo my hair with a sulfate-free shampoo 2-3 times a week [not the DevaCurl no-poo because that didn't work for me]. I condition my hair with the One Condition Original every time I get it wet--even if I don't wash it. I use Light Defining Gel and then throw in some Frizz-free Volumizing Foam in the summer or Styling Cream in the winter.
OK, here's how I do my hairs:
1. Shower: shampoo [or don't] and condition. When it comes time to rinse the conditioner I don't rinse it all, I leave it a little slick from the conditioner.
2. I flip my head over, then in my SOPPING WET HAIR, I add the gel and then the foam/cream. The goal is to feel the slick from the remaining conditioner and gel and other product from root to tip. In all honesty, I use a ton of product. You know how they say start with a dime? I probably use 3-4 quarters. Maybe 3 quarters of gel and 1 quarter of foam/cream.
3. Next I use a microfiber towel [I just purchased the DevaTowel, so no reviews on that yet]. I've been using a generic travel one I picked up at TJ Maxx for awhile now with no problem. I take the microfiber towel and start to shape the curl and dry it out. I scrunch and lift at the root. It takes away about half of the moisture.
4. DIFFUSER! I use my cheap-o hair dryer with diffuser to dry my hair fully. I start by drying it around my part and then flip my head from side to side and over to get maximum volume. I've also used clips to help shape my hair and that works pretty well [especially if I want to forego the hairdryer and air dry].
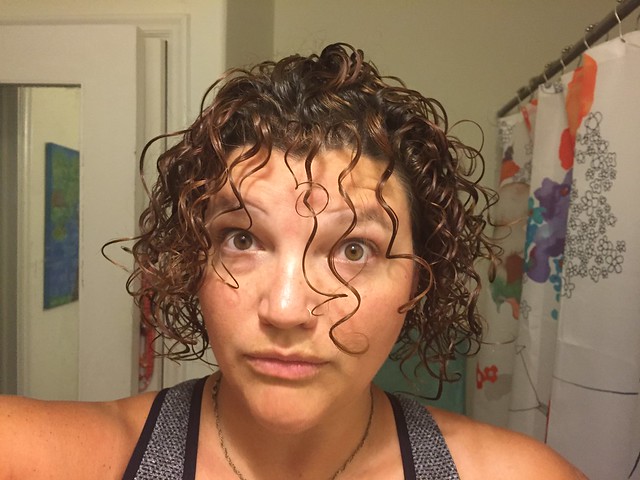
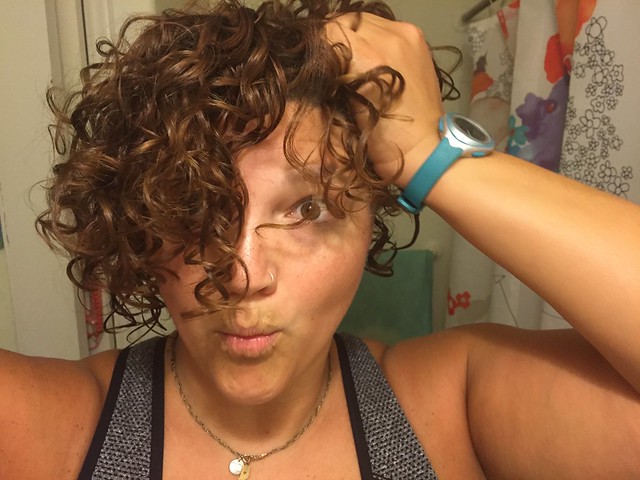
5. Once it's dry start scrunching. The gel from DevaCurl forms a cast that you then break to make touchable curls. It's kind of weird the first time [because touching your curly hair breaks all the rules!], but it's amazing to have soft curls. AMAZING I SAY.
And that's how I get my curls to curl. (-:
Subscribe to:
Posts
(
Atom
)